
The Inventory levels to quickly service customer demand while not tying up valuable financial assets can be difficult even when using NetSuite demand and supply planning features.inventory levels aren’t sufficient to immediately satisfy customer demand and then want to make a priority which customers are serviced first.
Basic Inventory Allocation:
generally set up in the accounting preferences where you designate the field to use for determining allocation priority (expected ship date, order priority or transaction date) and set your account to perform item commitment after the transaction is entered (Perform Item Commitment After Transaction Entry = Checked).
Enable allocation preferences:
- Go to Setup > Accounting > Preferences > Accounting Preferences.
- On the Order Management subtab, check the box item Commitment After Transaction Entry.
- Click Save

Navigate for Reallocating Items:
Go to Transactions > Inventory > Reallocate Items.
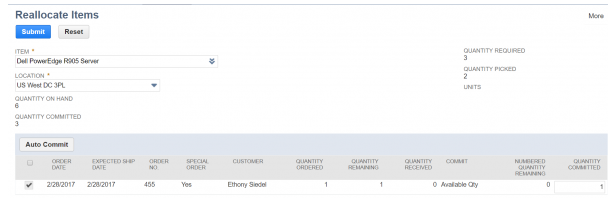
Manually using the Commit Orders page:
you to set your order filters to find a subset of orders to allocate inventory to each time you want to commit inventory.
Navigate for Commit Orders:
Goto > Transaction > Inventory > Schedule Commit Orders.
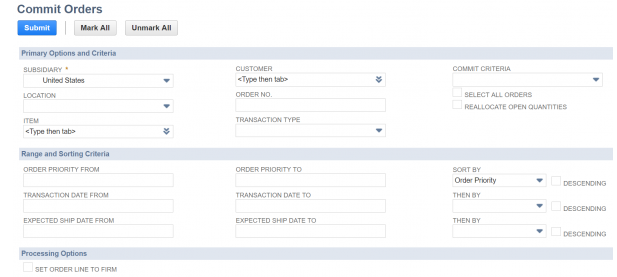
You can also define priority levels for individual customers. Receives the highest priority and is allocated inventory over another customer with a lower priority.