Workflows work on specific record type and can only be used to configure changes on that selected record type. Once you have selected the record type, it cannot be changed after click on save button, so it is important to make sure that you select the correct record type when initially creating your workflow.
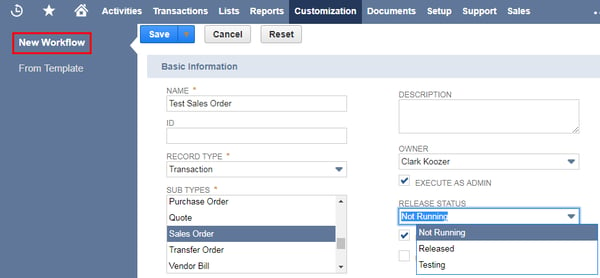
Workflow has 3 different release status:
- Not Running: If release status is not running then workflow conditions cannot be triggered on that record type.
- Released: If release status is released then workflow conditions executes for all users.
- Testing: If release status is testing then workflow condition executes only for the owner of the workflow.
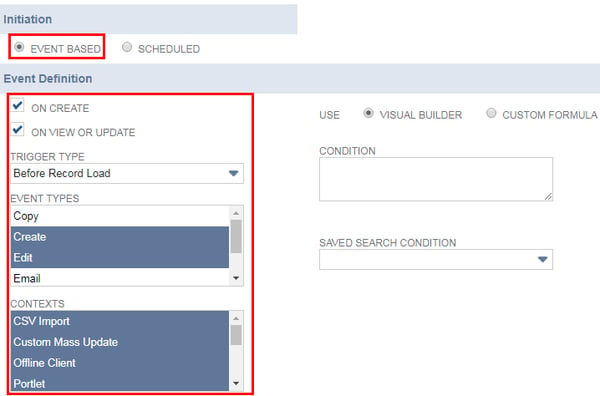
Workflows can be configured to run according to a schedule or based on user-defined criteria being met (referred to as “Event Based” initiation). For this scenario, we’ll be using event-based initiation since we want the changes to occur as the user edits the sales order record. Additionally, we’ll allow the workflow to trigger both when a new sales order is created and when an existing sales order is updated using the “On Create” and “On View or Update” preferences.
Then populate the trigger type for this Workflow, for SuiteScript, we will need some scripts to check this, but in Workflow user has the ability to set them in the UI. Based on the trigger type event types will be changed.
Scheduled Based initiation:
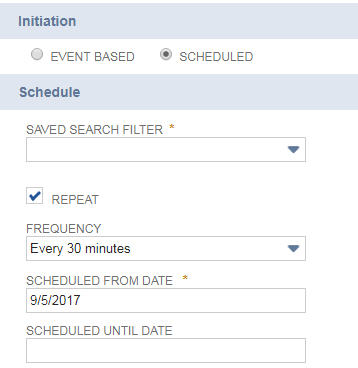
- Under initiation select the scheduled checkbox.
- Select the saved search which you want to apply as filters.
- If you want to repeat the scheduled, then check the repeat checkbox.
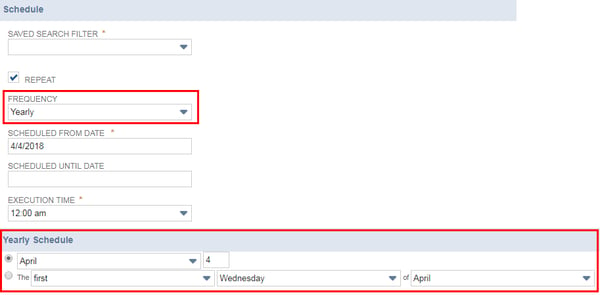
- Select the frequency list at what time you needs to run scheduled workflow, frequency list are defined as below
- Every 30 minutes (Default)
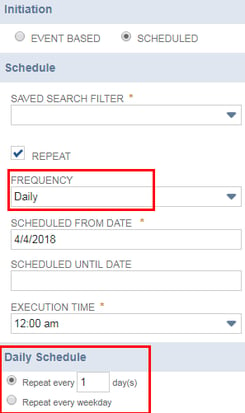
- Daily,
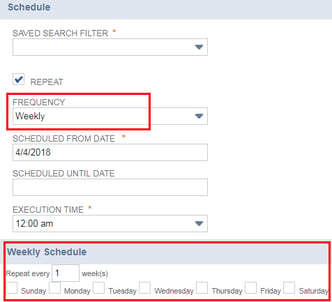
- Weekly,
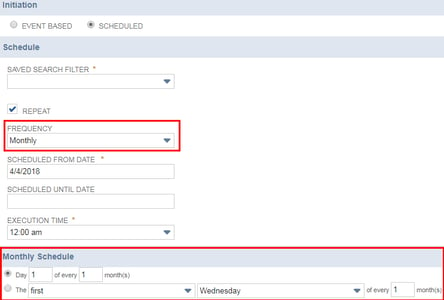
- Monthly and
- yearly
- Enter the scheduled from Date on which the schedule workflow starts.
- Enter the scheduled until date on which schedule workflow ends.
- Select the execution time of day when NetSuite runs the saved search and executes the workflow on the results. Execution time of day is default as midnight.
- If you select the daily frequency, then set the interval for the number of days between each scheduled execution or set execution to repeat on every week day.
9. If you select the weekly frequency, then Set the interval for the number of weeks between each scheduled execution and set the day’s of the week.
10. If you select the monthly frequency, then set the specific day (for example, 1st day) in the month or day of the week in the month (for example, second Monday) in monthly schedule.
11. If you select the yearly frequency, then Set the specific day in a specific month (for example, 4th of April) or the day of the week in a specific month (for example, second Wednesday in April)
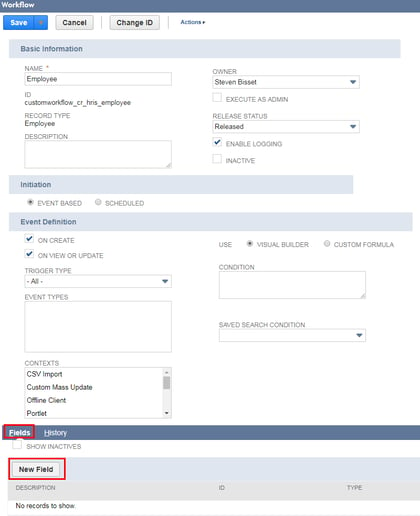
Workflow Fields:
Fields work similar to other fields you would add to a record, although they live within the workflow. You can add NetSuite fields to the entire workflow or just to a particular state.
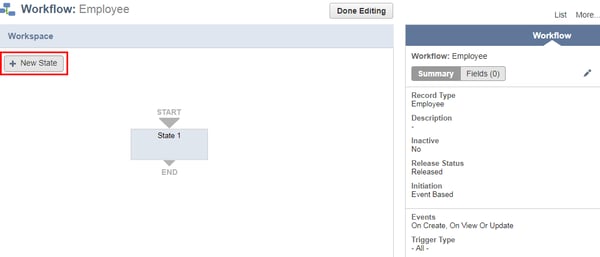
Workflow States:
These are the building blocks of workflows. A state corresponds to a stage or step in a business process. States include specific actions, and are connected to other states by transitions.
 Workflow Transitions:
Transitions allow for movement between states (steps) of your business process. You can define conditions and trigger condition options for the most accurate process possible.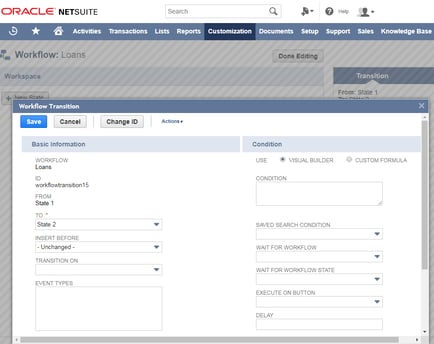
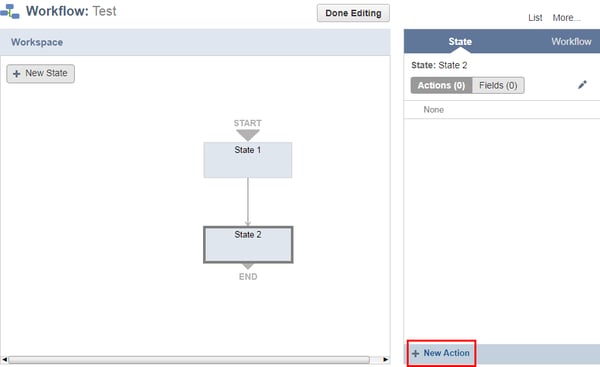
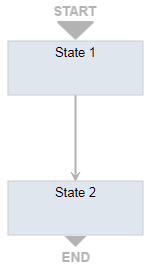
The SuiteFlow contains “States” and “Transitions”, States is the Box and Transitions are the lines connect each of the states, as shown below
Workflow Actions:
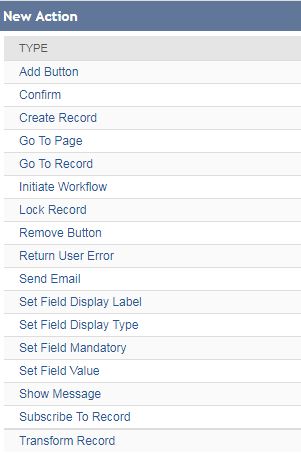
Create actions that will allow a state (steps) to execute a command. For example: send an email, add a button, remove a button, set field value, go to record, and return user error etc.